Latest Post

10 Must-Have applications for your USB PenDrive

Written By Unknown on Monday, 25 October 2010 | 07:57

Having portable apps in Pen Drive is must for computer geeks. No need to install this softwares in your PC. Just double click on them and they are ready to use.Here is the list of 10 must have portable freewares.
1. Mozilla Firefox Portable Edition
Carry the  “safest browser in the world” with you,  also have your extensions, bookmarks and addons ready to use any time.

2. VLC Media Player Portable
Best media player supports almost all popular media file formats.  Now take it with you anywhere you go.

3. Pidgin Portable
All-in-one instant messaging (supports AIM, ICQ, MSN Messenger, Yahoo, Gtalk, etc)

4. ClamWin Antivirus Portable
If you are a tech-geek you must be already having this on your thumb drive, free professional antivirus to keep your PC safe anytime, anywhere.

5. Notepad++ Portable
Must have tool for programmers and developers. It’s main syntax highlighting feature makes it look different from other common text editors.

6. 7-Zip Portable
Now uncompress all types of compressed files with this cool free app. This is one of the most popular freeware now made portable.

7. CCleaner Portable
Free, easy to use and very useful application. Cleans crap files from your system in few minutes. Makes you PC run faster.

8. Utorrent
Download torrent files from anywhere you go.Tiny bittorrent client.

9. Restoration
Recover accidentally deleted files – even after they were deleted from the recycle bin.

10. Foxit Reader
Foxit Reader is a small and fast PDF viewer that is compatible with PDF Standard 1.7. It includes Javascript support, interactive form filler, annotation tools and built-in text converter.

Reset Your lost Bios Password

Written By Unknown on Friday, 22 October 2010 | 13:17

Here's a DOS trick for Windows 9x, that will reset (delete) your motherboard's BIOS password (aka CMOS password) without any need to open up your computer to remove the battery or mess with jumpers.

This method can come in very handy in the event you ever lose and forget your BIOS password or if you acquire used computers where the unknown previous owners had BIOS passwords set (in fact, this happened to me long ago
was given a used computer, but there was no way I could enter the CMOS to make changes). It's important to note here that the password we are talking about is only the one that prevents a user from entering the BIOS setup at bootup, not the one that stops you from getting past the boot.

Normally, at bootup you can press a key (usually the DEL key) to access your BIOS allowing you to view it or make changes. With a password set, there is no way to enter setup. Though a password can provide a basic and very effective level of PC security, losing it can be a real headache if you don't know how to fix the problem.

The MS-DOS command that will makes this trick possible is the DEBUG command (debug itself is a utility
debug.exe which is located in your Windows Command folder). This is not a command to be taken lightly in other words, it's not a command to play with! You can cause serious corruption with this command and can end up not being able to even boot your computer! Debug is used to work with binary and executable files and allows you to alter (hex edit) the contents of a file or CPU register right down to the binary and byte level.

To begin debug mode, type debug at a MS-DOS prompt or you can specify a file, i.e., DEBUG FILE.EXE. There is a difference in screen output between the two methods. When you type DEBUG alone, debug responds with a hyphen (-) prompt waiting for you to enter commands. The second method, with a file specified, loads the file into memory and you type all the commands on the line used to start debug. In this tip, we will be writing to the BIOS, so the first method is the one that would be used. All debug commands can be aborted at any time by pressing CTRL/C.

Accessing BIOS with DEBUG
The basic trick will be to fool the BIOS into thinking there is a checksum error, in which case it resets itself, including the password. This is done by invalidating the CMOS and to do that we must know how to access the BIOS and where the checksum value of the CMOS is located so that we can change it. Access to the the BIOS content is via what are known as CMOS Ports and it's Port 70 and 71 that will give us the needed access. On almost all AT motherboards, the checksum is located at hexadecimal address 2e and 2f and filling the address 2e with ff is all you should have to do to invalidate the checksum.

Here's what to do if you ever need to reset the password and have no other method, and you don't want to open up your computer to remove the battery or jumpers.
Note! Do this at your own risk. I can only tell you that it has worked for me more than once and has worked for others as well. But I cannot make any guarantees. When I did this, I took a willing risk. The BIOS was Award Modular BIOS v4.51PG

Restart your computer in MS-DOS mode.

When you get to the C:\> or C:\WINDOWS> prompt, type DEBUG and press Enter.

A hyphen (-) prompt will appear waiting for you to enter commands.

Enter the following commands, pressing Enter after each one. Note: the o is the letter o and stands for OUTPUT.
 
o 70 2e
o 71 ff
q

After the q command (which stands for QUIT), enter Exit.

Then try to enter your BIOS at bootup. The password prompt should now be gone and you should now have full access to it again. However, you will now be at the default BIOS setttings and may want to change them to your preference. You may also want to have your drives autodetected again.
In closing, I should state that in the case of a lost BIOS password, your first step should always be to contact your manufacturer to see if a backdoor password is available that will allow you to bypass the forgotten password.

There are many sites on the net that list backdoor passwords you can try, but beware that some BIOS that are set up to lock up if you enter the wrong password more than a certain number of times, usually only 3 times!

Some Useful Nokia mobile phone Secret Codes list

On the main screen type
*#06# for checking the IMEI (International Mobile Equipment Identity).
*#7780# reset to factory settings.
*#67705646# This will clear the LCD display (operator logo).
*#0000# To view software version.
*#2820# Bluetooth device address.
*#746025625# Sim clock allowed status.
*#62209526# - Display the MAC address of the WLAN adapter. This is available only in the newer devices that support WLAN
#pw+1234567890+1# Shows if sim have restrictions.     

*#92702689# - takes you to a secret menu where you may find some of the information below:
 1. Displays Serial Number.
2. Displays the Month and Year of Manufacture
3. Displays (if there) the date where the phone was purchased (MMYY)
4. Displays the date of the last repair - if found (0000)
5. Shows life timer of phone (time passes since last start)

*#3370# - Enhanced Full Rate Codec (EFR) activation. Increase signal strength, better signal reception. It also help if u want to use GPRS and the service is not responding or too slow. Phone battery will drain faster though.
*#3370* - (EFR) deactivation. Phone will automatically restart. Increase battery life by 30% because phone receives less signal from network.
*#4720# - Half Rate Codec activation.
*#4720* - Half Rate Codec deactivation. The phone will automatically restart
 
If you forgot wallet code for Nokia S60 phone, use this code reset: *#7370925538#
Note, your data in the wallet will be erased. Phone will ask you the lock code. Default lock code is: 12345

Press *#3925538# to delete the contents and code of wallet.

Unlock service provider: Insert sim, turn phone on and press vol up-arrow keys) for 3 seconds, should say pin code. Press C, then press * message should flash, press * again and 04*pin*pin*pin#

*#7328748263373738# resets security code.
Default security code is 12345

Trick to Complete Formatting Mobile Phone

Here is the trick for complete formatting of your virus infected or other problem arriving mobile phone...

This trick is for almost all Nokia models.

1. Switch off your phone...
2. Remove SIM card & memory chip...
3. Now press & hold keys - 3,*,call green) ...
4. Then without leaving these three buttons press power button...
5. Formatting task will be started...
6. Remember its a very rare trick....
 Yes its true its call hard format.
 key * , 3 , Call button (green) press and hold when display is on than formatting screen is displayed. 

Wait for formatting to be finished, 
Before carrying out this process make sure you have copied all your contacts and notes onto your Memory, because every thing will be deleted. When its finished the formatted phone may be like new, just like when u have brought it from showroom.

Top 20 Tips To Keep Your System Faster

Follow these tips and you will definitely have a much faster and more reliable PC!

 1. Wallpapers: They slow your whole system down, so if you're willing to compromise, have a basic plain one instead!

2. Drivers: Update your hardware drivers as frequently as possible.  New drivers tend to increase system speed especially in the case of graphics cards, their drivers are updated by the manufacturer very frequently!

3. Minimizing: If you want to use several programs at the same time then minimize those you are not using.  This helps reduce the overload on RAM.

4. Boot Faster: The 'starting Windows 98/XP' message on startup can delay your booting for a couple of seconds.  To get rid of this message go to c:\ and find the file Msdos.sys.  Remove the Read-Only option.  Next, open it in Notepad or any other text editor.  Finally, go to the text 'Options' within the file and make the following changes: Add BootDelay=0.  To make your booting even faster, set add Logo=0 to remove the Windows logo at startup.

5. Restart only Windows: When restarting your PC, hold down Shift to only restart Windows rather than the whole system which will only take a fraction of the time.

6. Turn Off Animations:  Go to Display Settings from the Control Panel and switch to the Effects Tab. Now turn off Show Windows Content While Dragging and Smooth Edges on Screen Fonts.  This tip is also helpful with Windows XP because of the various fade/scroll effects.

7. Faster Start-Menu Access: Go to the Start menu and select Run.  Now type Regedit and hit Enter.  The Registry Editor will appear on the screen.  Now, open the folder HKEY_CURRENT_USER\Control Panel\Desktop.  You should see a MenuShowDelay value.  If you don't then do the following: right click on a blank space in the right pane and select New\String.  Change the name in the new value to MenuShowDelay.  Now that we have the MenuShowDelay value, double click on it and enter 0 in the value data field.  This sets the start menu delay to 0 milliseconds.

8. Resolutions: If you are willing to do anything for faster performance from your PC, then try lowering your display resolution.  The lower it is, the faster your PC.

9. Turn off Active Desktop:  Go to your Display Properties and switch to the Web tab.  Uncheck View My Active Desktop As a Web Page.  Since the Active Desktop option under Windows 98 uses a lot of system resources, this option can have a dramatic effect on the speed of the whole system.

10. Defragment Often:  Windows 98's Defrag tool uses Application Acceleration from Intel which means that when you defragment your drive, data is physically arranged on the drive so that applications will load faster.

11. Take your PC to Bed:  Using the Advanced Power Management feature under Windows 98 gives you the option to use the sleep command.  That way, you can send your PC to sleep instead of shutting it down and then restarting it.  It's as simple as pressing a button and then pressing the same button to wake it up.  You can tell Windows after how many minutes/hours of inactivity to automatically sleep the machine in the Advanced Power Management section of the Control Panel.

12. Faster Internet Access: If you use the internet for reference and the sites you visit are rarely  updated then try the following.  In IE (the same can be done in Netscape) go to Tools, Internet Options.  Next, click on Settings... in the Temporary Internet Files  section.  Finally, select Never for the first option and double the amount of storage space to use, click OK!

13. Benchmarking: Benchmarking can be very useful when run frequently.  It can tell you how your PC's components are performing and then compare them to other machines like yours.  For example, when you overclock your PC, you want to know how much more speed you have and whether it is stable.  All this and more can be discovered using benchmarking.  An excellent piece of software for doing this job is SiSoft Sandra which can be found in the Downloads File Archive!

14. Refresh the Taskbar without restarting: If you in some way change the taskbar, either in Regedit or elsewhere, you can refresh the task bar without restarting.  Hold down Ctrl Alt Del, and double click on Explorer.  Say Yes to close Explorer, but no to closing Windows.  This will refresh the Taskbar and system tray.

15. Quick CD Eject: Instead of pushing the button on your drive, right-click your CD drive letter in My Computer and click on Eject.  This will also remove any icons that have become associated with the CD drive

16. Start Up Programs:  Windows can be slowed down when programs run on start up.  To eliminate this, check your Start up folder.  You can access it from the start menu: Start, Programs, Start Up.  Another way to eliminate programs from loading even before Windows actually starts is by doing the following: Click on Start, then Run.  Type msconfig.  It will take quite a long time for this program to load, but when you finally see it on your screen, explore the different tabs.  They all have to do with how quickly your PC boots, so select what you want, and uncheck what you don't want!

17. Fonts: When Windows starts, it loads every single font in the Fonts folder.  Therefore, the more fonts you have, the slower the booting process.  To get rid of unwanted fonts, simply go to the Fonts folder under c:\windows and remove whatever you don't want.  Fonts that have a red letter 'A' as their icon are system fonts, so don't delete them.

18. Stretching Wallpapers:  Don't "stretch" your wallpaper in Windows 98 since it actually slows Windows down when you drag icons around on the desktop.

19. RAM Matters: If you have less than 32MB then you should seriously think of upgrading it to at least 64MB.  Windows runs much more smoothly with 64MB or higher and tends to use less hard disk space for virtual memory.

20. Partitioning: A very nice little thing you can do to boost system performance.  By partitioning your hard drive, splitting one physical drive into several logical ones, you can gain several advantages.  1. If you get a virus or you accidentally format a drive, not all will be lost.  2. By placing the swap file (Win386.swp) on a separate drive, The swap file will be less fragmented and thus, faster. 3. Place Windows on a separate drive and whenever you need to reinstall it, you rest assured that your data is safe on a separate drive.  Partitioning can be done using a few programs such as FDisk which comes with DOS.  However, FDisk formats everything on the hard disk before partitioning. Alternatively, you can use Partition Magic from Power Quest to partition your hard disk without losing your data.


Nokia N8 vs Apple iPhone 4

Written By Unknown on Thursday, 21 October 2010 | 07:34

Nokia N8 vs Apple iPhone 4
Introduction:

The iPhone took the cell phone industry by surprise in 2007, and managed to usurp half of its profits for only three years in active duty, with only 3% of the world's handsets sold. This was mostly at the financial expense of Nokia, which got knocked down from its perch due to some complacency issues, typical of a sprawling empire. Its share of the cell phone industry profits shrunk threefold, and it was even losing money at some point in the epicenter of the financial crisis.

The Finns are no doubt willing to reclaim some of this space back, so they began some movers and shakers at the management level, bringing a foreigner at the helm for the first time in Nokia's history. The swan song of the previous management is personalized in the Nokia N8, the current flagship of the company, on which a lot of hopes are placed for a turnaround.

The Apple iPhone 4, on the other hand, is the culmination of Apple's efforts to craft an outstanding consumer-friendly device, that will keep people’s attention for a year, before the next iteration is introduced. Apple started a new major design cycle with the iPhone 4, introduced the Retina Display  in it, and custom-made one of the fastest smartphone chipsets on the market, making it the most compelling iPhone package so far. Thus the battle lines are drawn, let's see how the two hotties fare against each other...


Design:

Designwise, it is the steel and glass of the iPhone 4 vs the aluminum of the Nokia N8. One shows the craftsmanship perfected over the years that culminates on a phone made from a single sheet of anodized aluminum, with an etched Nokia logo on the back.

Nokia N8 vs Apple iPhone 4
Designwise, it is the steel and glass of the iPhone 4 vs the aluminum of the Nokia N8

The other has made the thinnest smartphone on the market, out of the most unorthodox materials. The Gorilla Glass casing of the Apple iPhone 4 might have raised questions about its fragility, but coupled with the stainless steel frame around the phone, it also makes for an appearance never before seen in a phone, just what we would expect from the cool kids of the Silicon Valley.

Both phones have 3.5” screens, but the difference in technologies used makes for separate experiences. The iPhone 4's IPS-LCD has been called Retina Display, for its astonishing 640x960 pixels of resolution. It is bright, sharp and clear, and possibly represents the best that the LCD technology can offer for now.

The Nokia N8, on the other hand, has the competing technology in its AMOLED screen, with its high contrast and vivid colors, set back by the 360x640 pixels of resolution, and higher than the iPhone 4 reflectance under bright sunlight, which diminishes visibility. The Nokia N8's display is also protected by the scratch-proof Gorilla Glass, but the touchscreen layer is slightly less responsive than the one on the iPhone 4. On the other hand, Nokia N8's screen has excellent haptic feedback, whereas the iPhone 4 doesn't include that function. The displays offer bright and clear images, with the iPhone 4's higher resolution placing it in the lead.

Nokia N8 vs Apple iPhone 4
From left to right - Apple iPhone 4, Samsung Galaxy S, Nokia N8


Both handsets only have one physical home key under the screens. The one on the Nokia N8, though, is tiny and hard to reach when using the phone with one hand, without the risk of dropping the handset. Speaking of dropping, the iPhone 4 now feels more slippery than the previous generations, because of the glass surface.

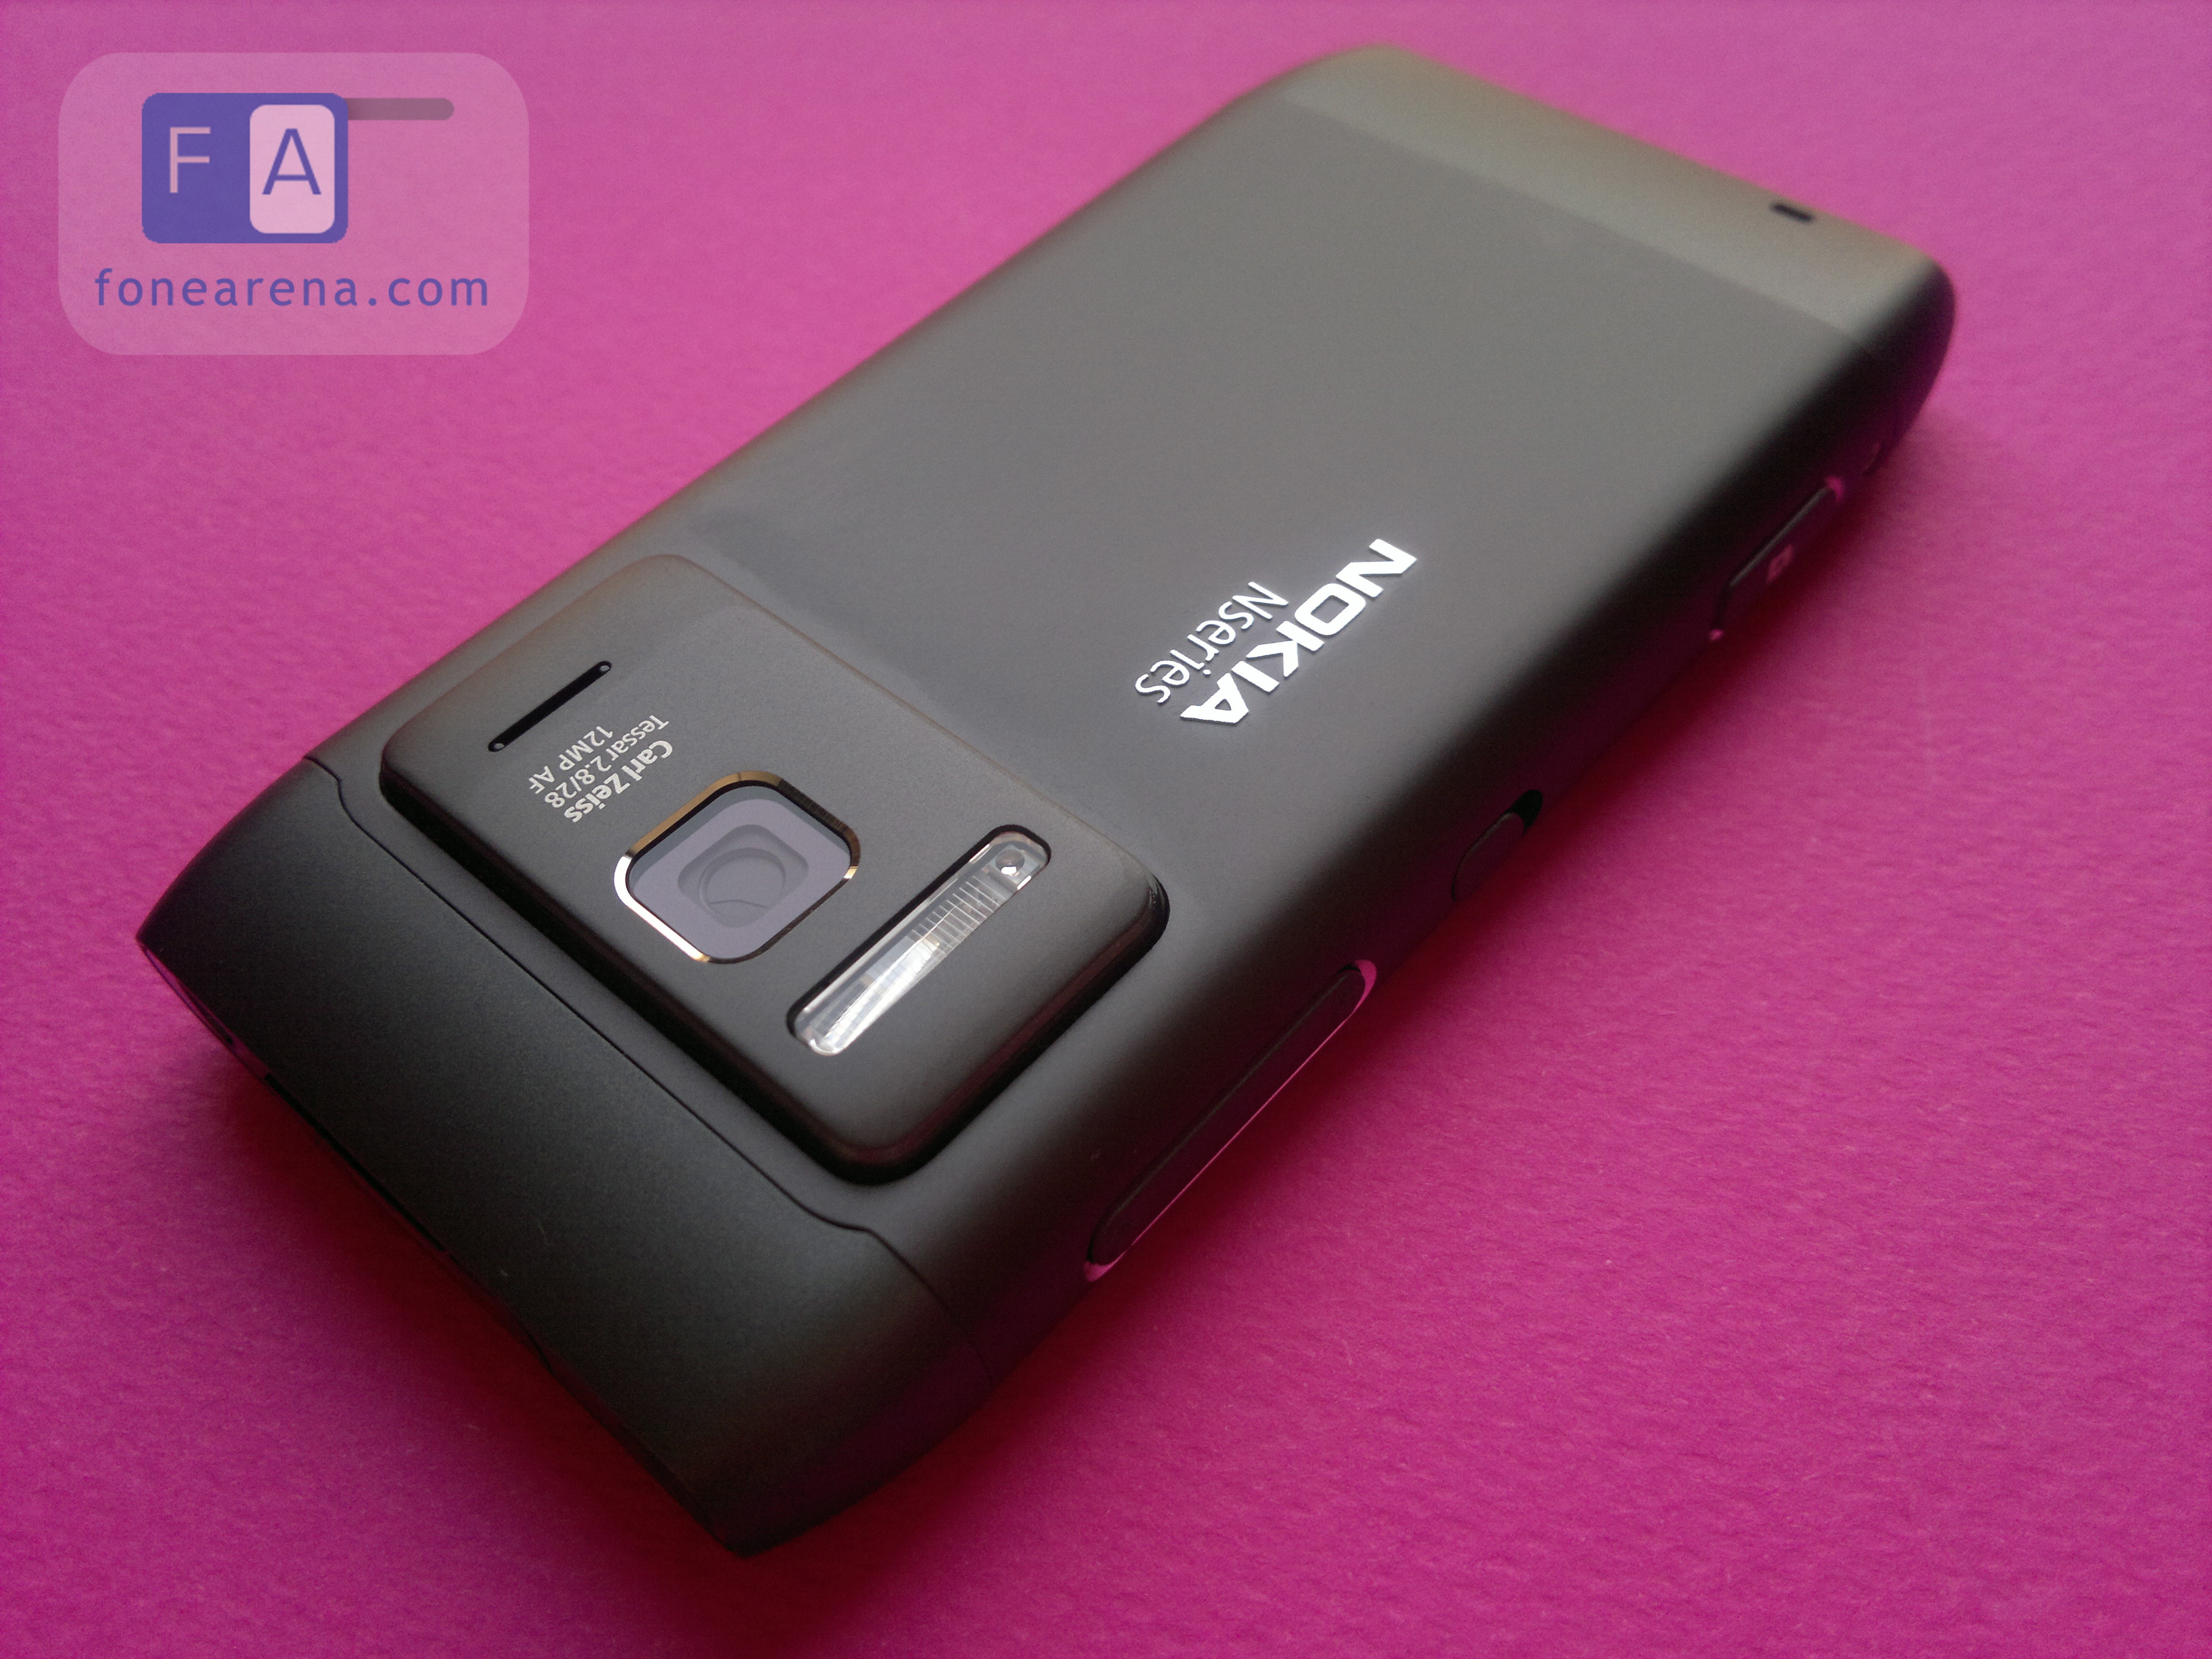
The handsets weigh roughly the same and have similar dimensions with the notable exception of thickness. The iPhone 4 is surreally thin at 0.37 inch (9.3 mm), while the Nokia N8 clocks in at 0.51 inches (12.9 mm), excluding the elevated area on the back, where the camera is located, necessary to fit the big sensor of the 12MP shooter, and the Xenon flash. The glass back of the iPhone is smooth, with only the logo, and a small round area for the lens' eye plus the tiny dot of the LED flash in the upper left corner.

Nokia N8 vs Apple iPhone 4


There are no less than ten elements, like openings and buttons, around the sides of the Nokia N8, which comes to show the different design approaches in the creation of the handsets.. Both phones sport non-removable batteries, thus their SIM card slots are placed on the sides, but accessing it in the Nokia N8 means just prying open the plastic cover, while the micro SIM tray on the right of the iPhone 4 needs a paper clip to come out.
Nokia N8 vs Apple iPhone 4
Nokia N8 - above, Apple iPhone 4 - bellow


It is immediately apparent that a lot of thought and sleepless nights have gone into the design and manufacturing of the iPhone 4 and the Nokia N8 from multiple teams. The two phones represent some of the best pieces of industrial design in the smartphone universe, each with its own character – the strong but smooth aluminum unibody of the Nokia N8 comes in a bunch of different colors, and the steel and glass construction of the iPhone 4 resembles a concept phone, made by a boutique designer shop in limited series.

Geek Art: 5 Nokia N8s Inside Each Other

Question: What do you do when you have not one but two Nokia N8 review units at hand and a *lot* of free time?
Answer: Well, what any respectable geek would do, you play, you take pictures, and eventually you try to breed them, because you know that ultimately, you have to return both, but you *so* want to make your little N8ties to raise, love and keep when the parents are back with their legitimate owners.
And this is the result. Can you see the 5 Nokia N8s in this photo? (Click on the image to open the full 12MP resolution one). Oh it’s beautiful!

MAKING OF: Here are the 5 steps, in order, to make this one marvelous gem of a photo.
Level 1 – We start with a photo of the Dark Grey Nokia N8 (let’s call him dgN8) taken by the Silver N8 (sN8).

Level 2 – Then, we display this picture on the sN8, and we take a photo of that with the dgN8.

Level 3 – We display that one on the dgN8 and we shoot it with the sN8.

Level 4 – Again, we open that image on the sN8 and we take a photo with the dgN8.

Level 5 – And ultimately, with the sN8, we take a photo of the dgN8 displaying that last picture.

It’s poetic. It’s transcending. It’s… Oh well, it makes me ache to have the 5 colors of the N8 so I could put them all inside each other. If anyone has the 5 colors at hand, please do it :) Or if someone at Nokia wants to send me the 5 colors to do it, then I really don’t mind ;)
Note: I did try to go to the 6 and 7 N8s levels, but ultimately I was beaten by the resolution of the screen, you can’t go past the 5 N8s with the screen still being able to show them all. Too bad.
 
Support : Creating Website | Johny Template | Mas Template
Copyright © 2011. Turorial Grapich Design and Blog Design - All Rights Reserved
Template Created by Creating Website Published by Mas Template
Proudly powered by Blogger